It's extremely simple to deploy a static site using Heavymeta Press. This allows you to focus on creating quality content.
Video Walkthrough
Prerequisites
Site Files
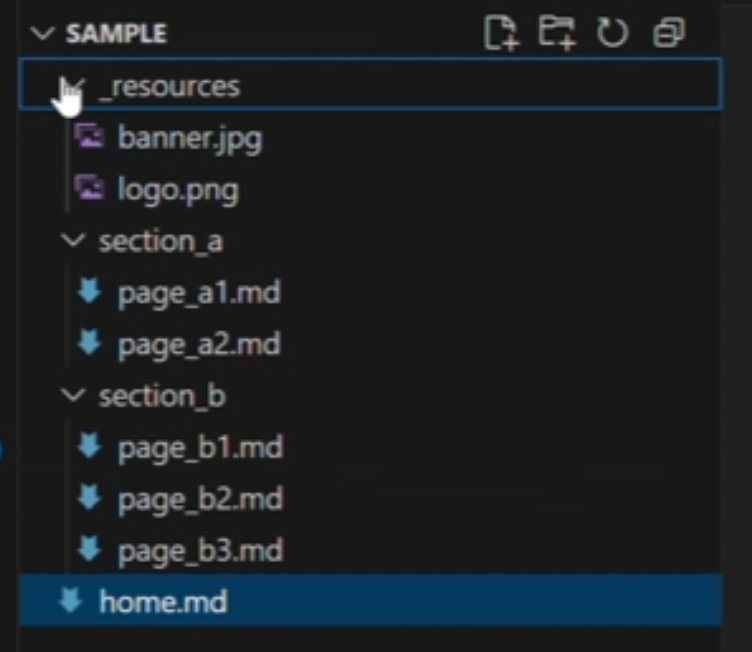
Heavymeta Press only needs markdown files inside of a folder structure to generate a static site. See documentation to understand how to use it fully. For this tutorial, we will use this sample project to demonstrate how easy it is to deploy a site.
Create a Pintheon Access Token
Press needs to communicate with your Pintheon node, to facilitate this you must create an access token for the app.

Open Press, Metavinci > Press > Run Press. Navigate to your project folder to open the project. Once Press opens navigate to the Settings, and copy the key from the '25519 Pub' field.
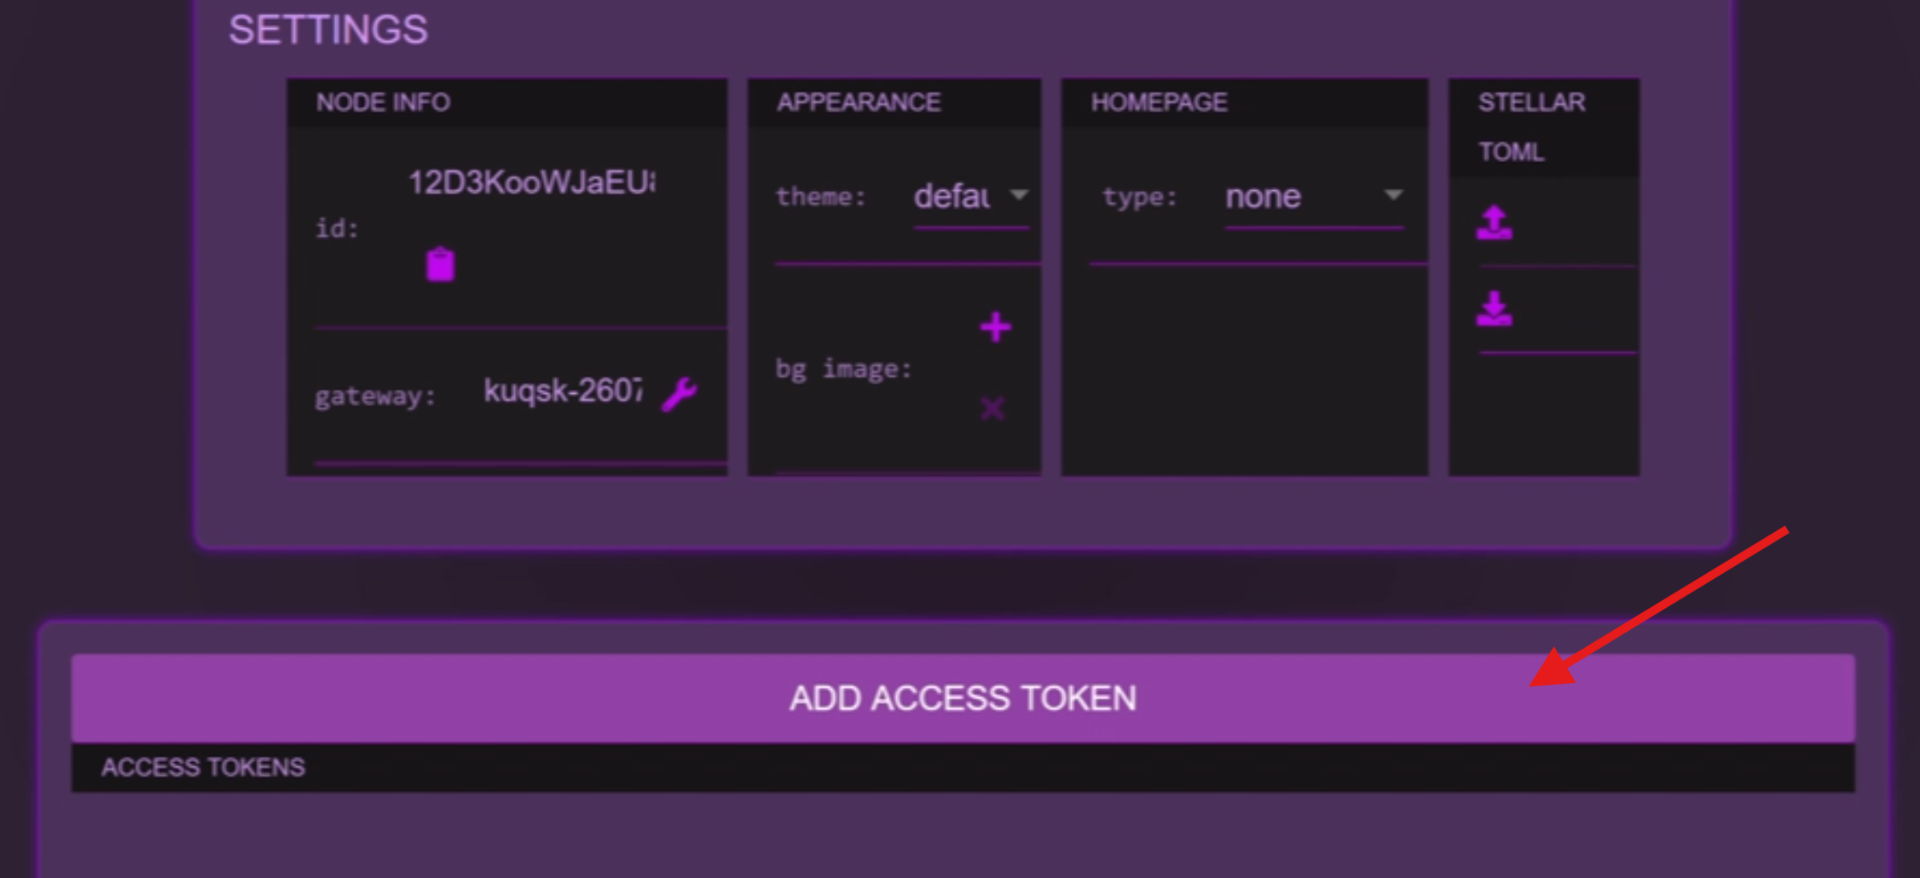
Press the 'Add Access Token' button to create a new Access token.
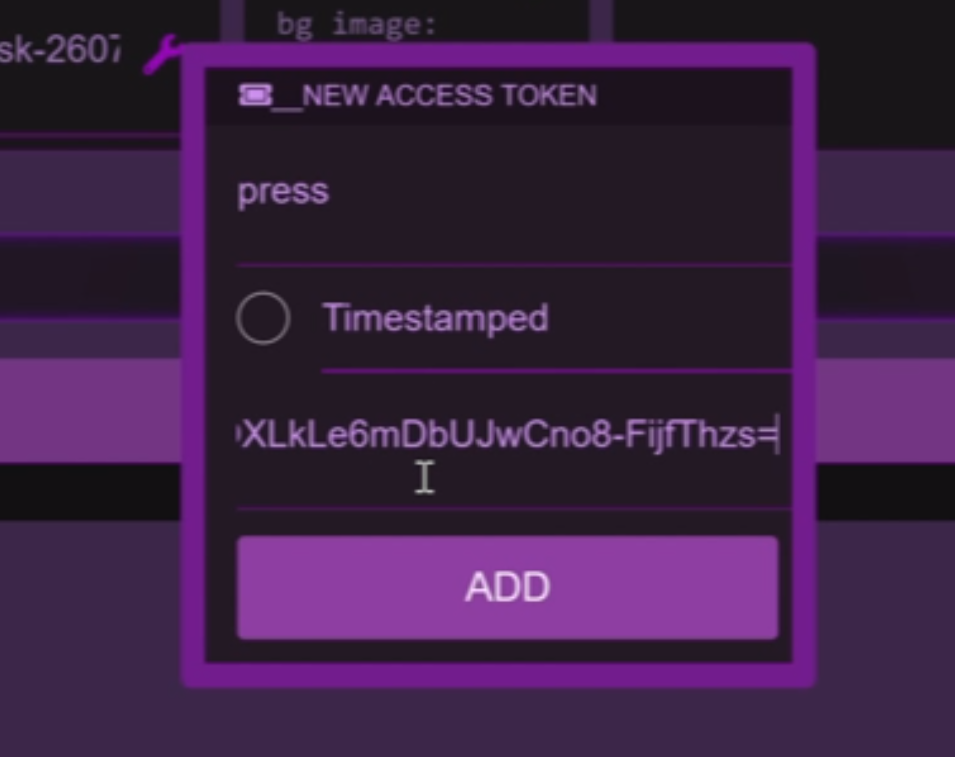
Name the new token, and paste the copied key into the 'Stellar 25519 Public Key' field, press 'Add'.
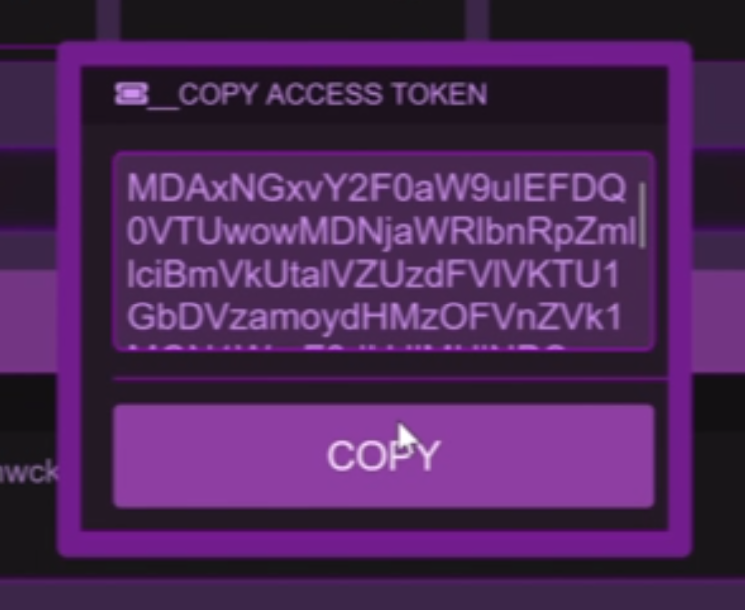
A new window will pop up with your Access Token. Press the 'Copy' button to copy it. The Access Token only appears when created, and it is not saved.
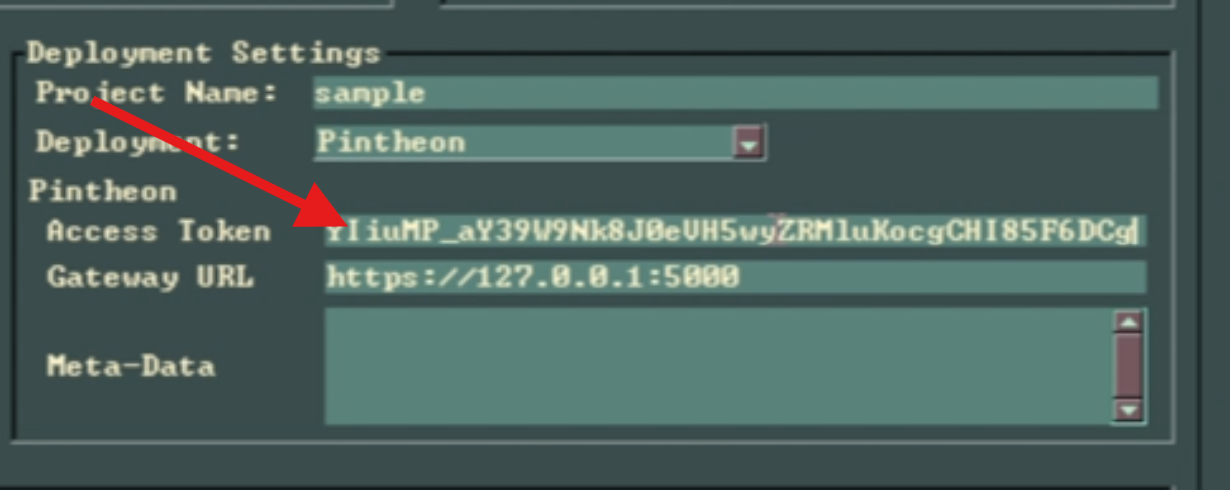
Paste the Access Token into the Heavymeta Press 'Deployment Settings', 'Access Token' field.
Set the Gateway URL
This tutorial assumes you already have a Pinggy account, and have set your Pinggy Token, and Pinggy Tier in the Metavinci Pintheon settings.
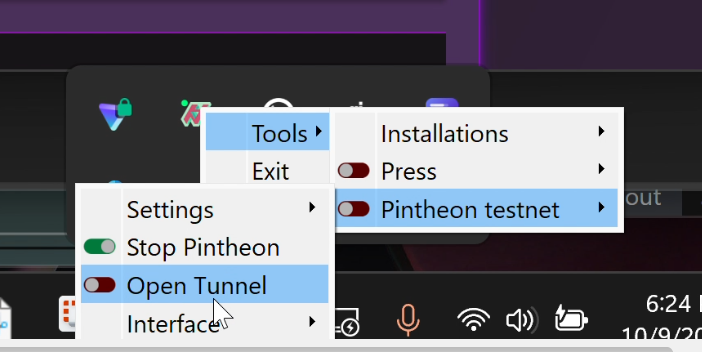
Metavinci > Pintheon > Open Tunnel, to open a new tunnel. In this case we are using Pinggys' free tier.
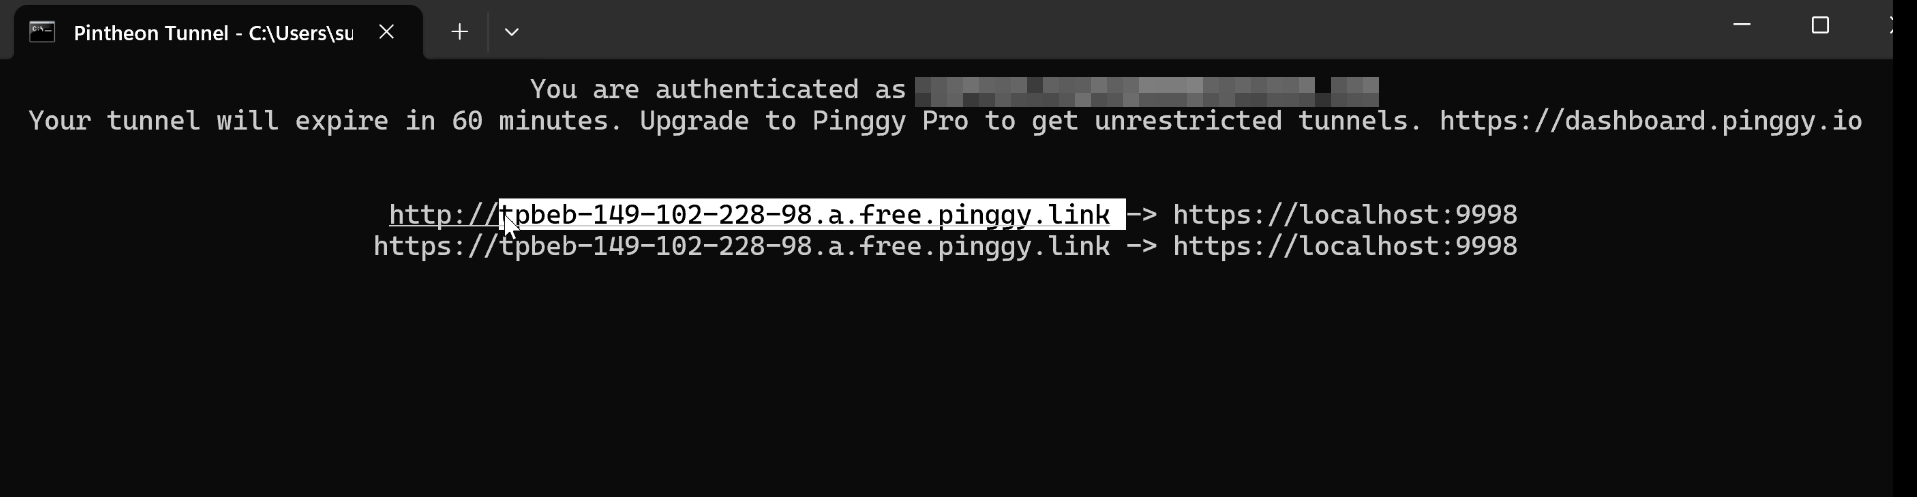
The Pinggy window will pop up, and the public link will be displayed in the terminal. Copy the link address from the terminal window.
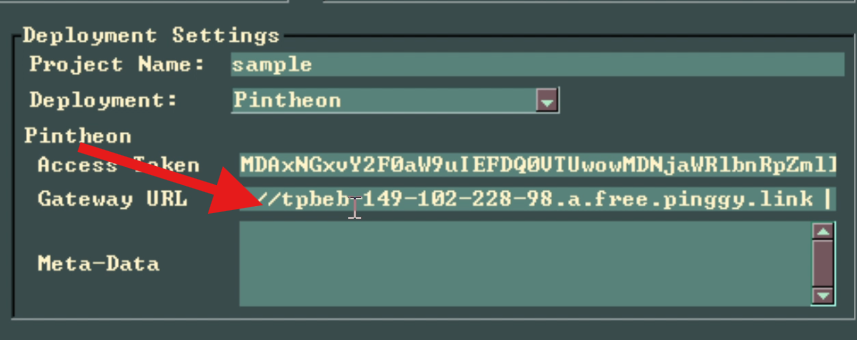
Paste the public link from the Pinggy terminal into the Heavymeta Press 'Deployment Settings', 'Gateway URL' field. Make sure there is no extra spaces, or characters pasted into the field.
Deploy the Site
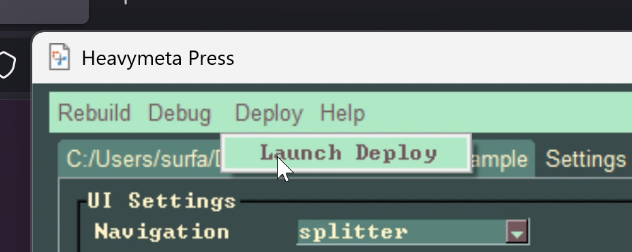
In the Heavymeta Press Menu Bar, choose Deploy > Launch Deploy. The program will first upload all media files in the project '_resources' folder to the Pintheon node, storing the deployed link. After all media has been deployed, the site is rendered using the deployed media links.
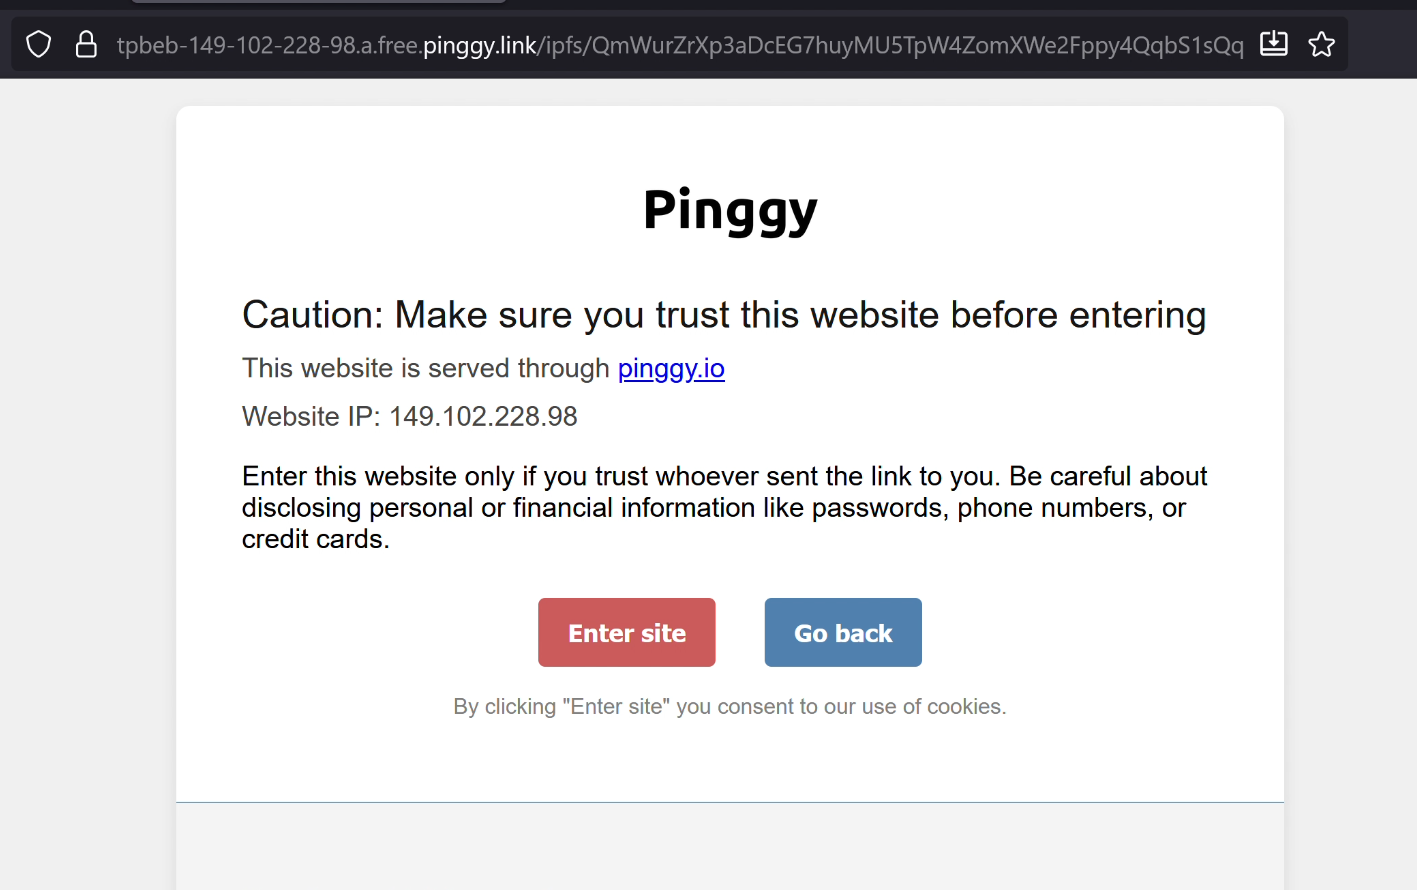
On deployment completion, a browser will open to the deployed site. Since we used Pinggy free, the site will have a warning that needs to be clicked through. The warning does not appear if you have a paid Pinggy account.
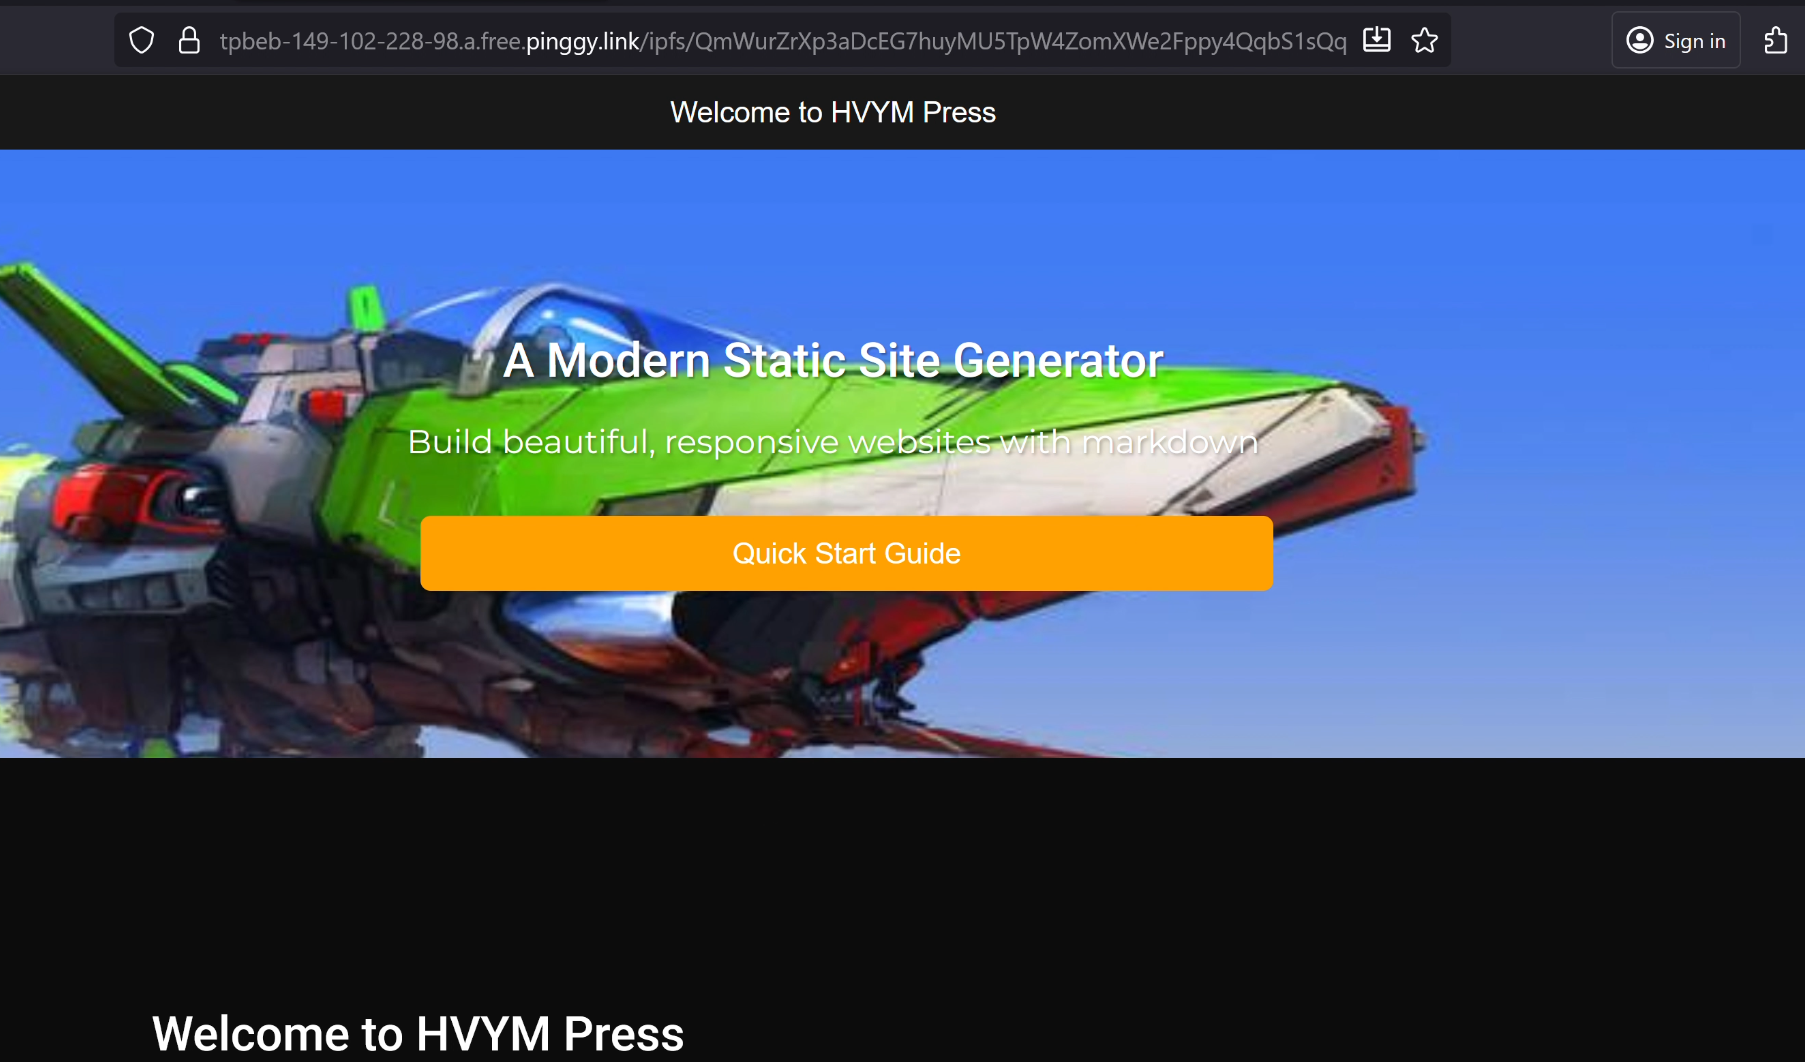
Clicking through, you'll see the site is a fully functional multi-page site.
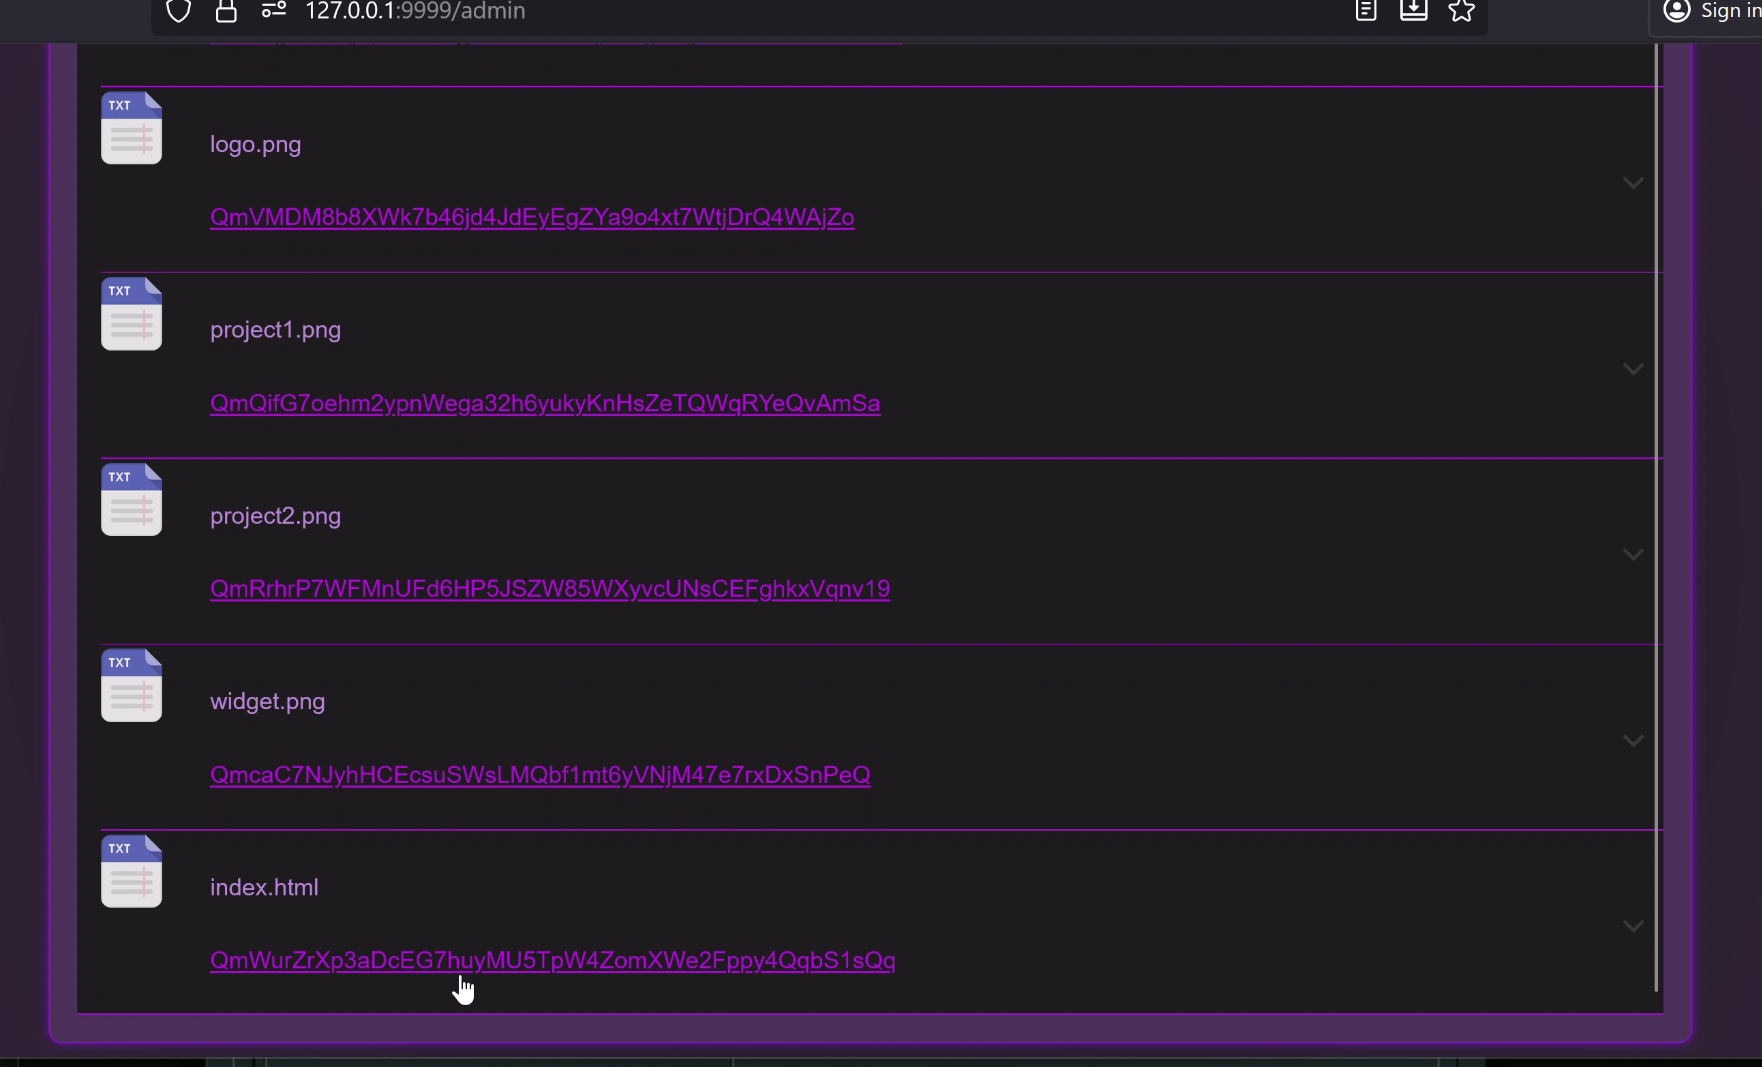
If you look in your Pintheon node you'll find that all the media files, and the index.html for the site are shown as uploaded to your node.
It's that easy to deploy and self host a fully functional website from your own hardware.