VitePress is a popular static site generation library, especially for technical documentation. With Pintheon, it's easy to deploy you VitePress docs to the internet.
Video Walkthrough
Prerequisites
Install these packages:
npm install dotenv --save
npm install --save-dev @types/node
Process
First step is to create you VitePress site, this tutorial isn't about how to use VitePress, to follow the docs for to understand fully how to use the library.
In this case we will be scaffolding a very basic site.
Scaffold the Site
Open a terminal in the directory in which you want your project files to exist, then run:
npx vitepress initVitePress will give you a set of interactive prompts that act as a basis for the site setup.
┌  Welcome to VitePress!
│
◇  Where should VitePress initialize the config?
│  ./docs
│
◇  Where should VitePress look for your markdown files?
│  ./docs
│
◇  Site title:
│  My Awesome Project
│
◇  Site description:
│  A VitePress Site
│
◇  Theme:
│  Default Theme
│
◇  Use TypeScript for config and theme files?
│  Yes
│
◇  Add VitePress npm scripts to package.json?
│  Yes
│
◇  Add a prefix for VitePress npm scripts?
│  Yes
│
◇  Prefix for VitePress npm scripts:
│  docs
│
└  Done! Now run pnpm run docs:dev and start writing.
Site Files
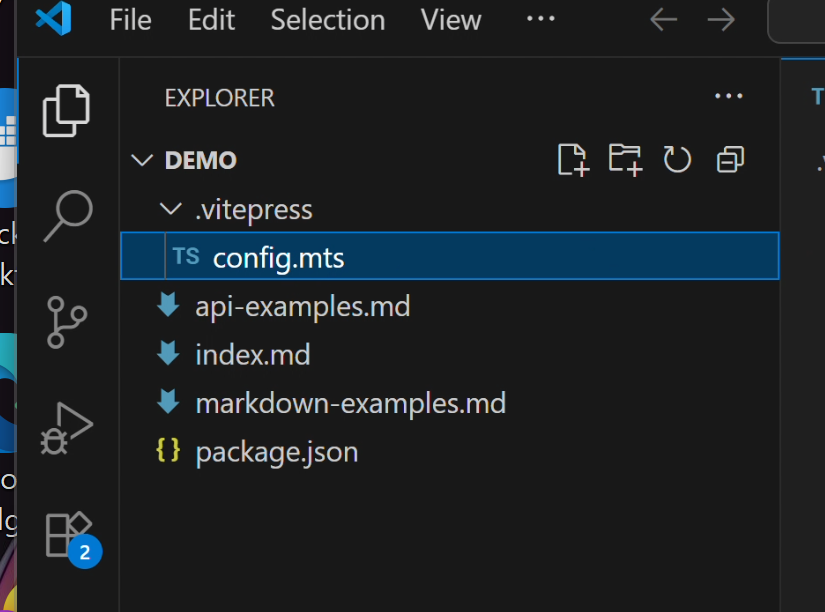
config.mts
This file configures the site. This file needs to be updated so that it works when uploaded to your Pintheon node.
We will update it, adding an environment variable, so routing is consistent for development, and when built for deplyment on Pintheon. We add these lines to the config:
// Base URL configuration - will be available as import.meta.env.BASE_URL
base: process.env.NODE_ENV === 'production' ? '/home/' : '/',
// Ensure Vite knows about our base URL
vite: {
  define: {
    'import.meta.env.BASE_URL': JSON.stringify(process.env.NODE_ENV === 'production' ? '/home/' : '/')
  }
}
So the config now looks like this:
import { defineConfig } from 'vitepress'

  // https://vitepress.dev/reference/site-config
  export default defineConfig({
  // Base URL configuration - will be available as import.meta.env.BASE_URL
  base: process.env.NODE_ENV === 'production' ? '/home/' : '/',
  // Ensure Vite knows about our base URL
  vite: {
    define: {
      'import.meta.env.BASE_URL': JSON.stringify(process.env.NODE_ENV === 'production' ? '/home/' : '/')
    }
  },
  title: "Pintheon Demo",
  description: "A Pintheon Demo",
  themeConfig: {
    // https://vitepress.dev/reference/default-theme-config
    nav: [
      { text: 'Home', link: '/' },
      { text: 'Examples', link: '/markdown-examples' }
    ],

    sidebar: [
      {
        text: 'Examples',
        items: [
          { text: 'Markdown Examples', link: '/markdown-examples' },
          { text: 'Runtime API Examples', link: '/api-examples' }
        ]
      }
    ],

    socialLinks: [
      { icon: 'github', link: 'https://github.com/vuejs/vitepress' }
    ]
  }
})
package.json
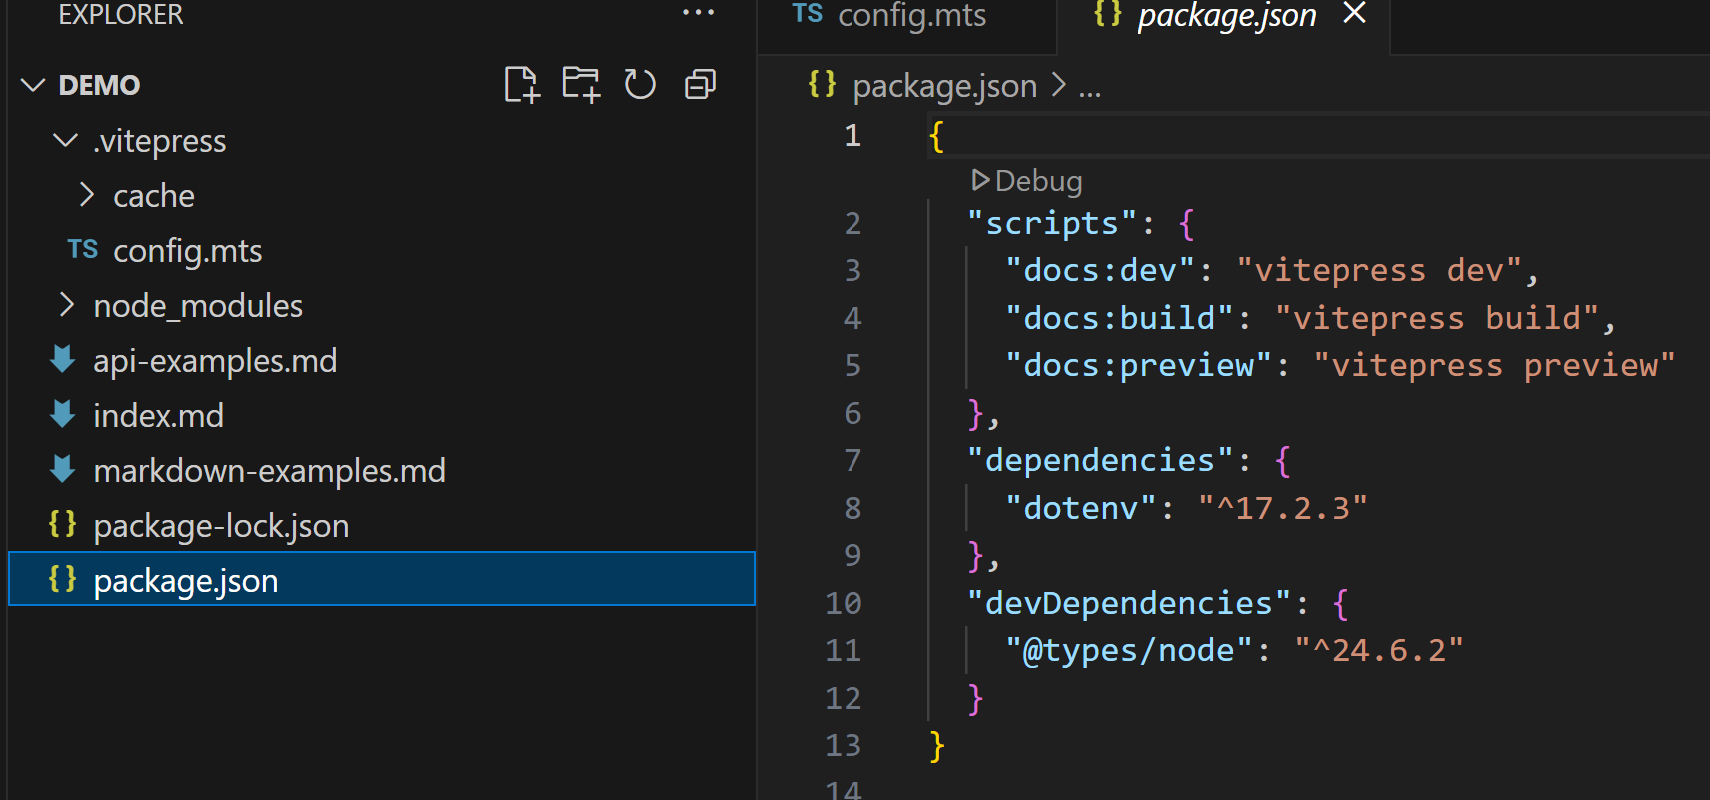
This file defines the dependencies, as well as settings for building the project. We want to update it to include the 'NODE_ENV' environment variable we defined above:
{
  "scripts": {
    "docs:dev": "vitepress dev",
    "docs:build": "NODE_ENV=production vitepress build",
    "docs:preview": "vitepress preview"
  },
  "dependencies": {
    "dotenv": "^17.2.3"
  },
  "devDependencies": {
    "@types/node": "^24.6.2"
  }
}
This is specifically so the routing works in the built app. To build and run for development we call:
npm run docs:devThe site will be built and runs on: http://localhost:5173/
markdown files

The markdown files are used for the site content, customize these, add more etc., in order to customize the site content.
Deploying to Pintheon
First build the site with:
npm run docs:build
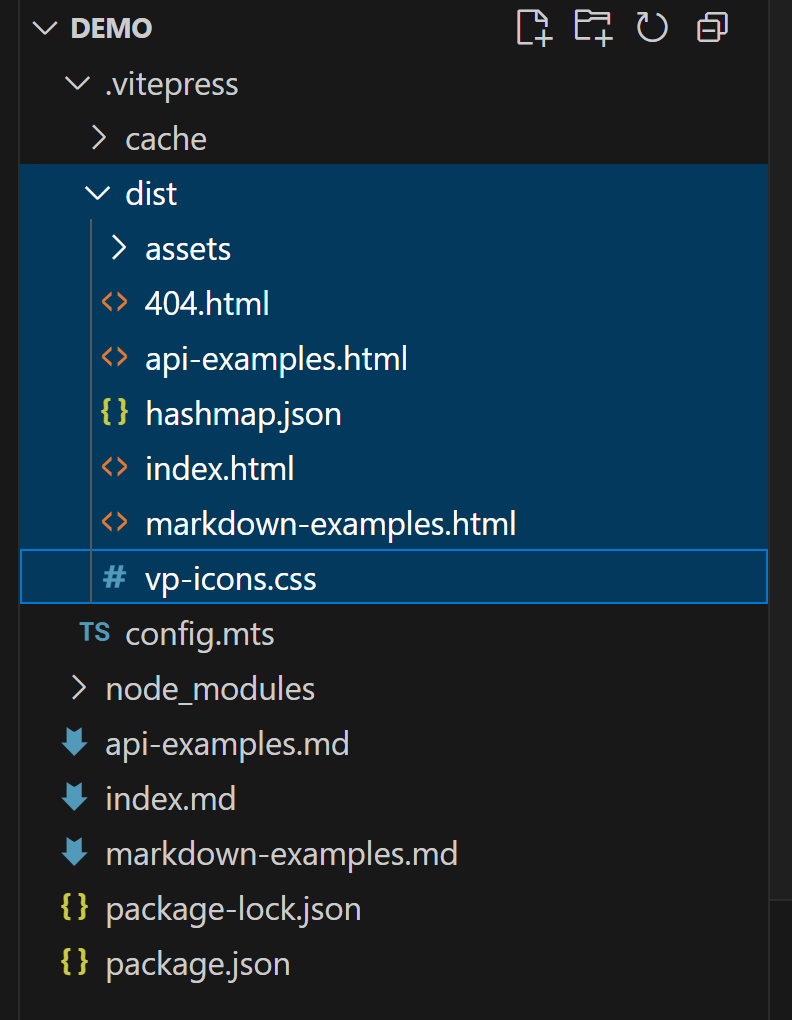
All the built assets are built into the /dist directory
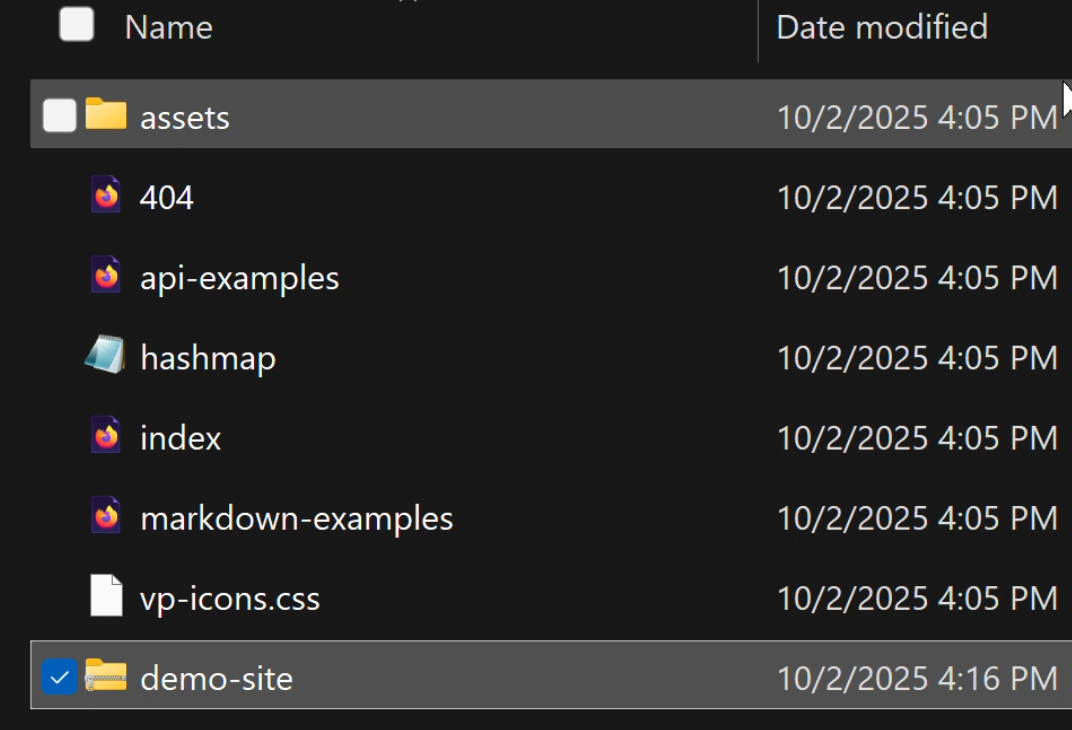
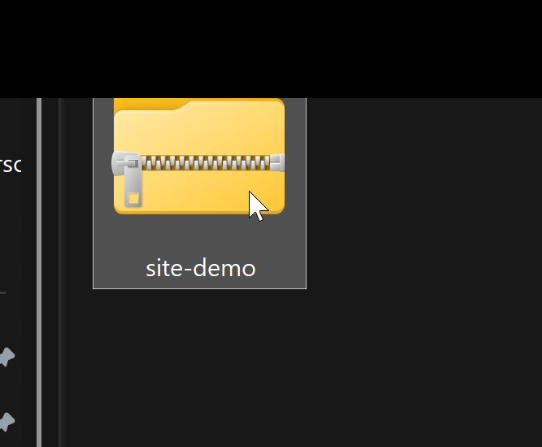
We want to compress these into a zip file so we can upload them to the Pintheon node.
Uploading zip to Pintheon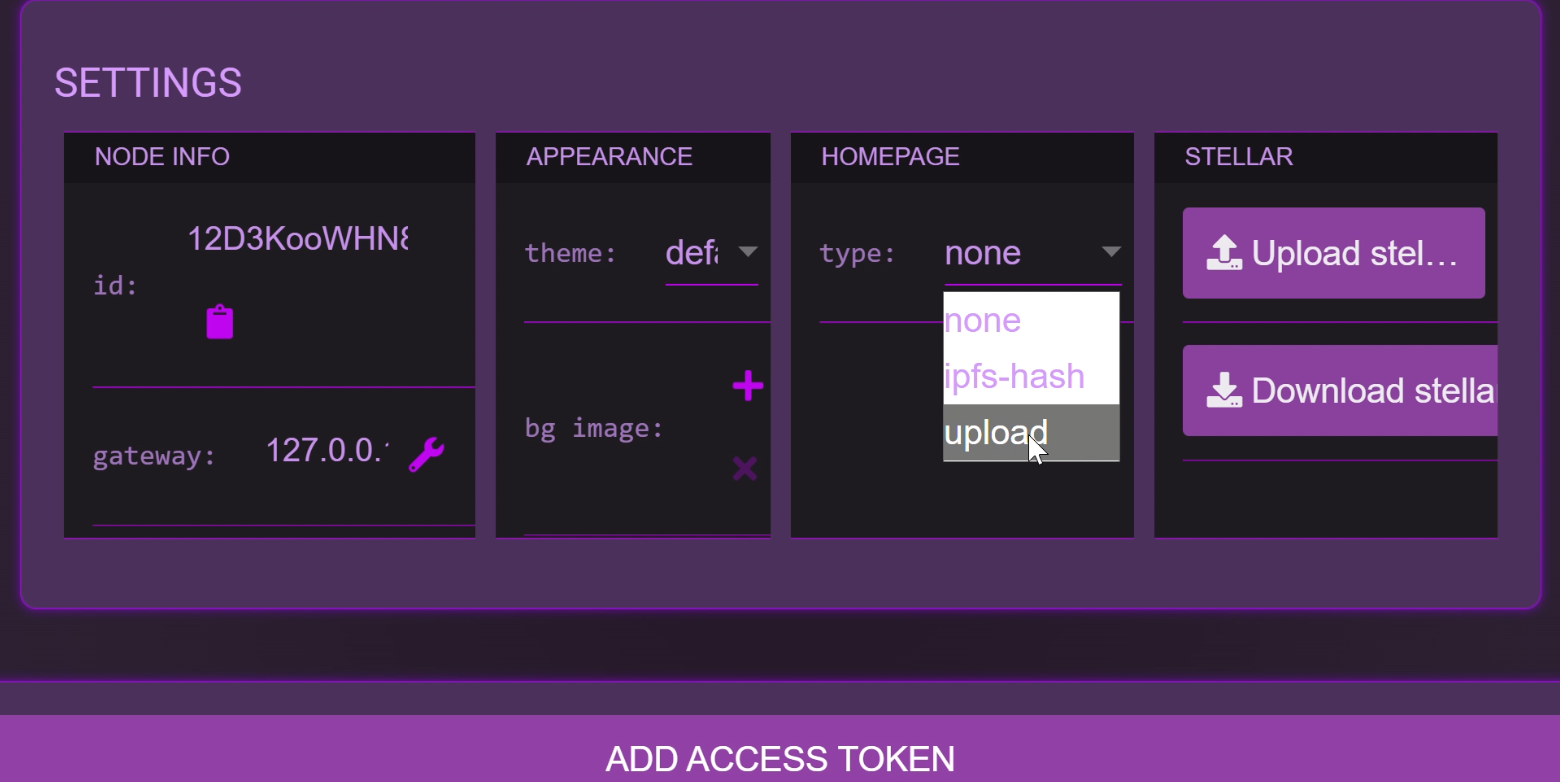
Log into your Pintheon node, and navigate to Settings. Under 'Homepage', choose 'Upload' from the drop-down.
Then press the upload button and find the zipped site assets.
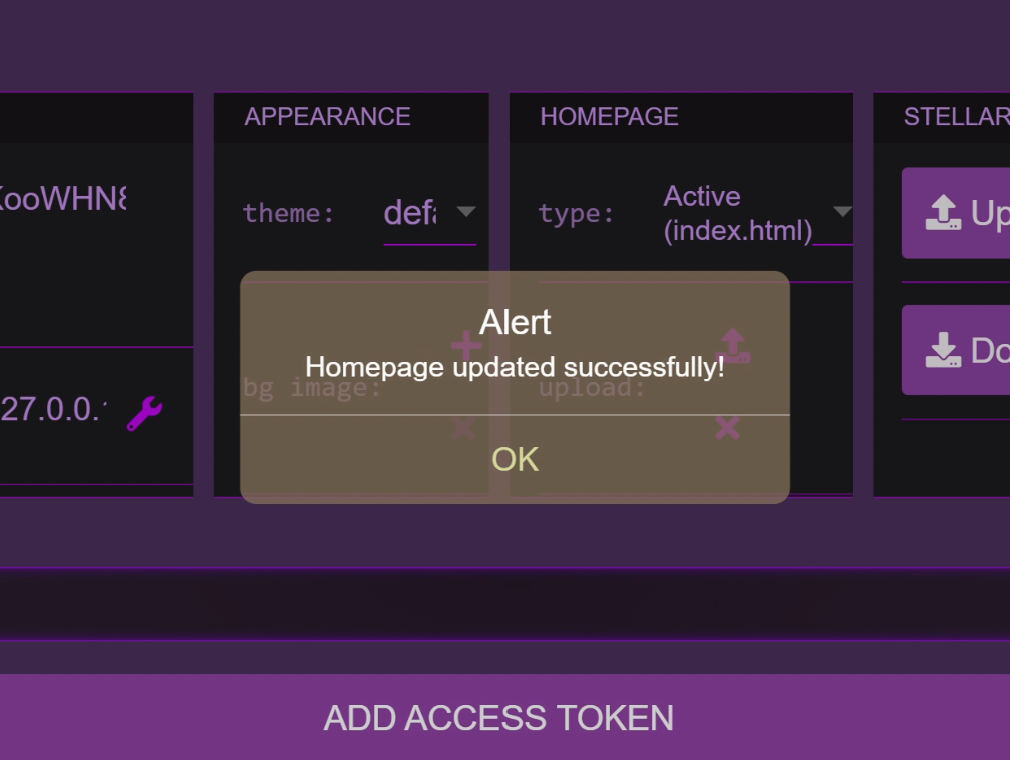
If upload was successful, a confirmation will show.
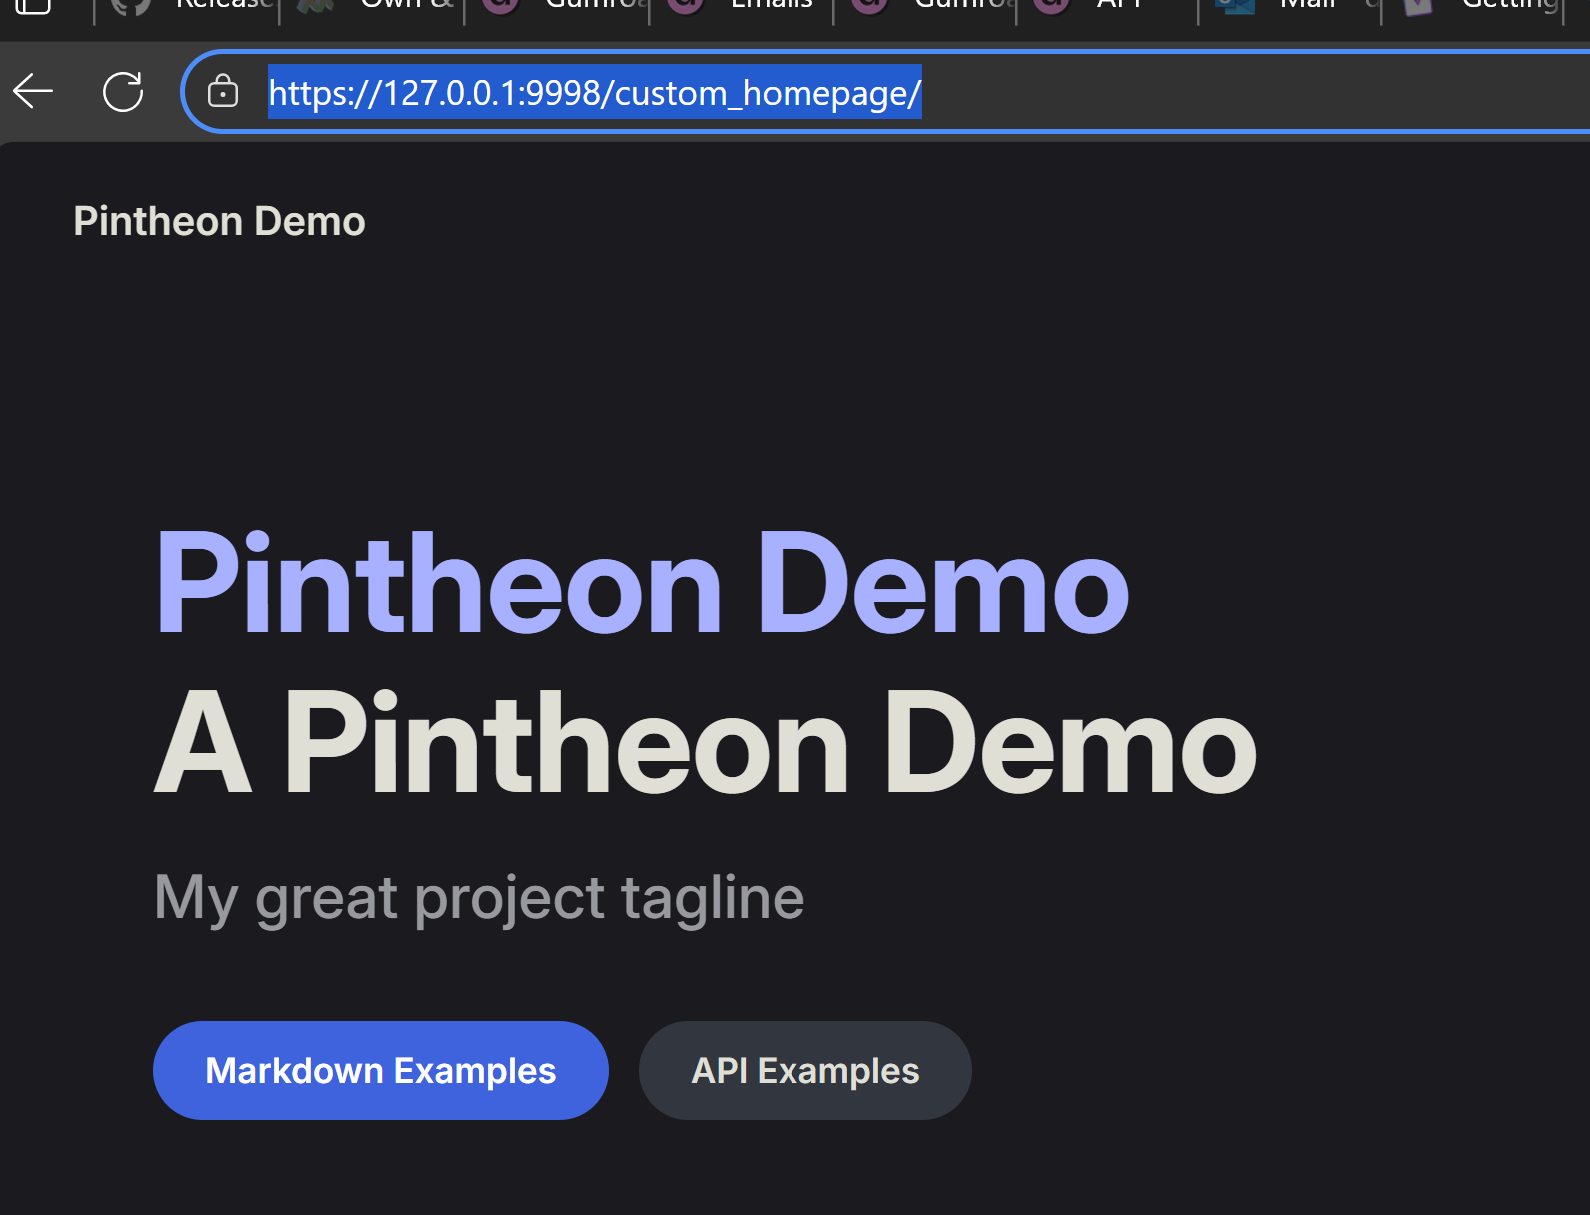
The site is now served on: https://127.0.0.1:9998/home/
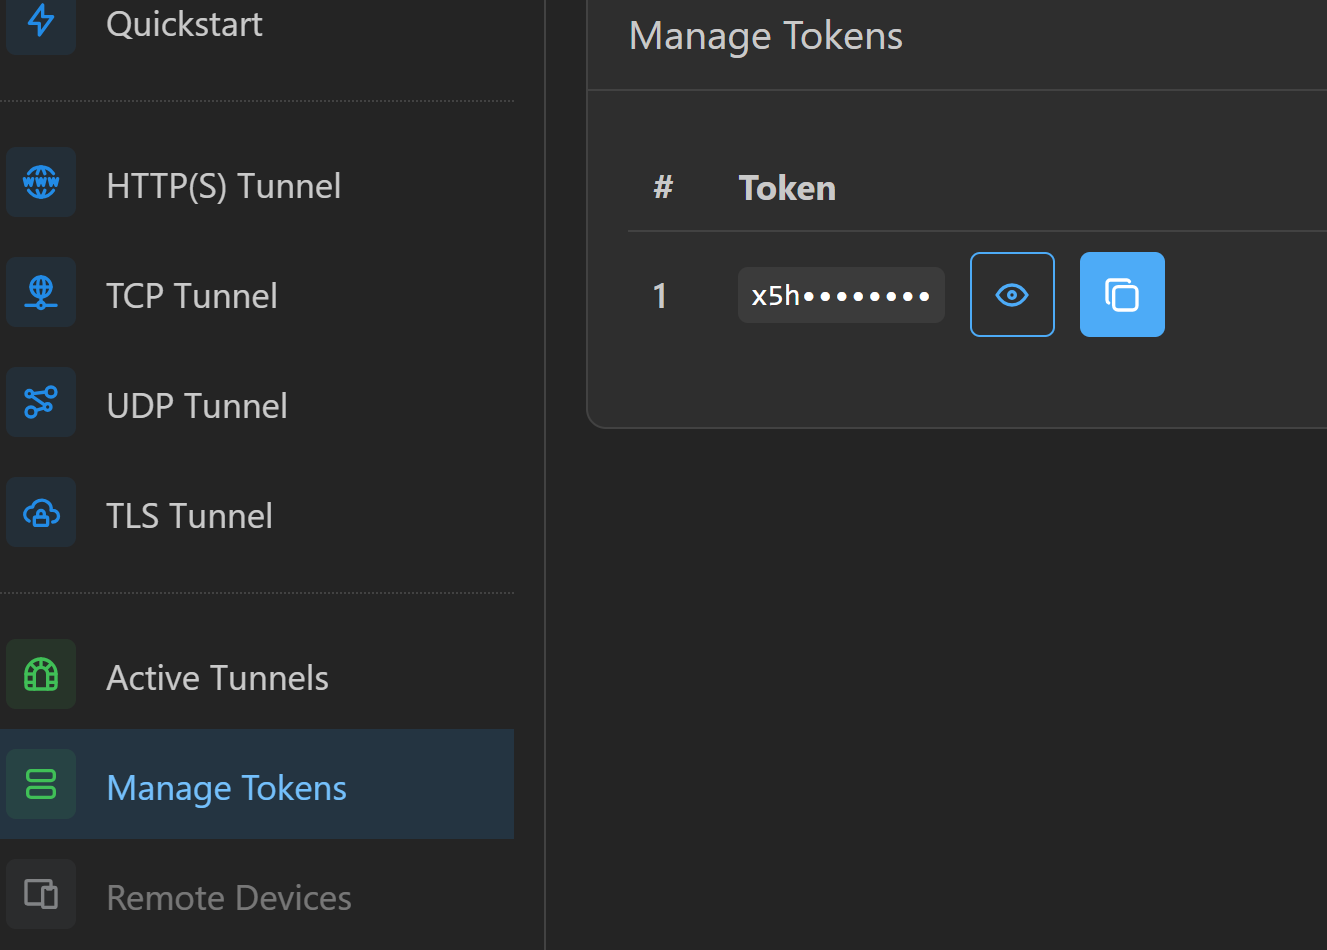
Log into your pinggy acccount, and copy your token.
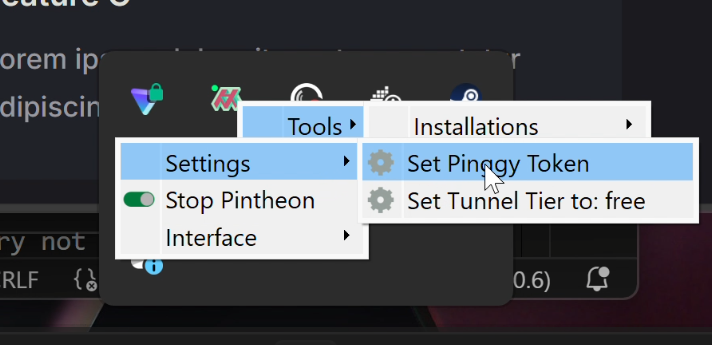
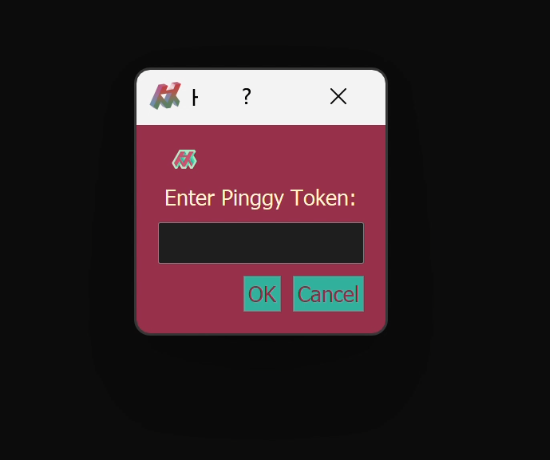
Set your Pinggy token in Metavinci.
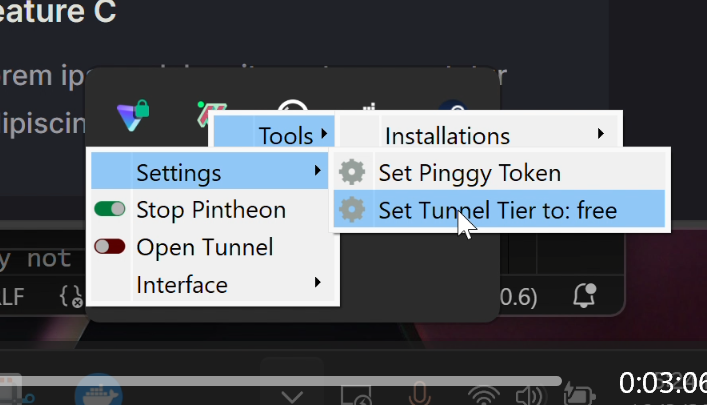
By default metavinci assumes tunnels will use pinggy pro, if you want to use pinggy free, you must set it in metavinci.
Serving your site to the Internet
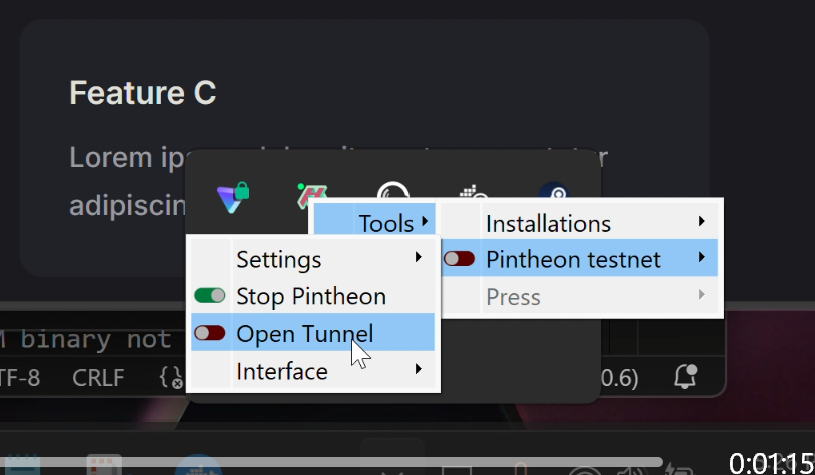
Open a tunnel with metavinci
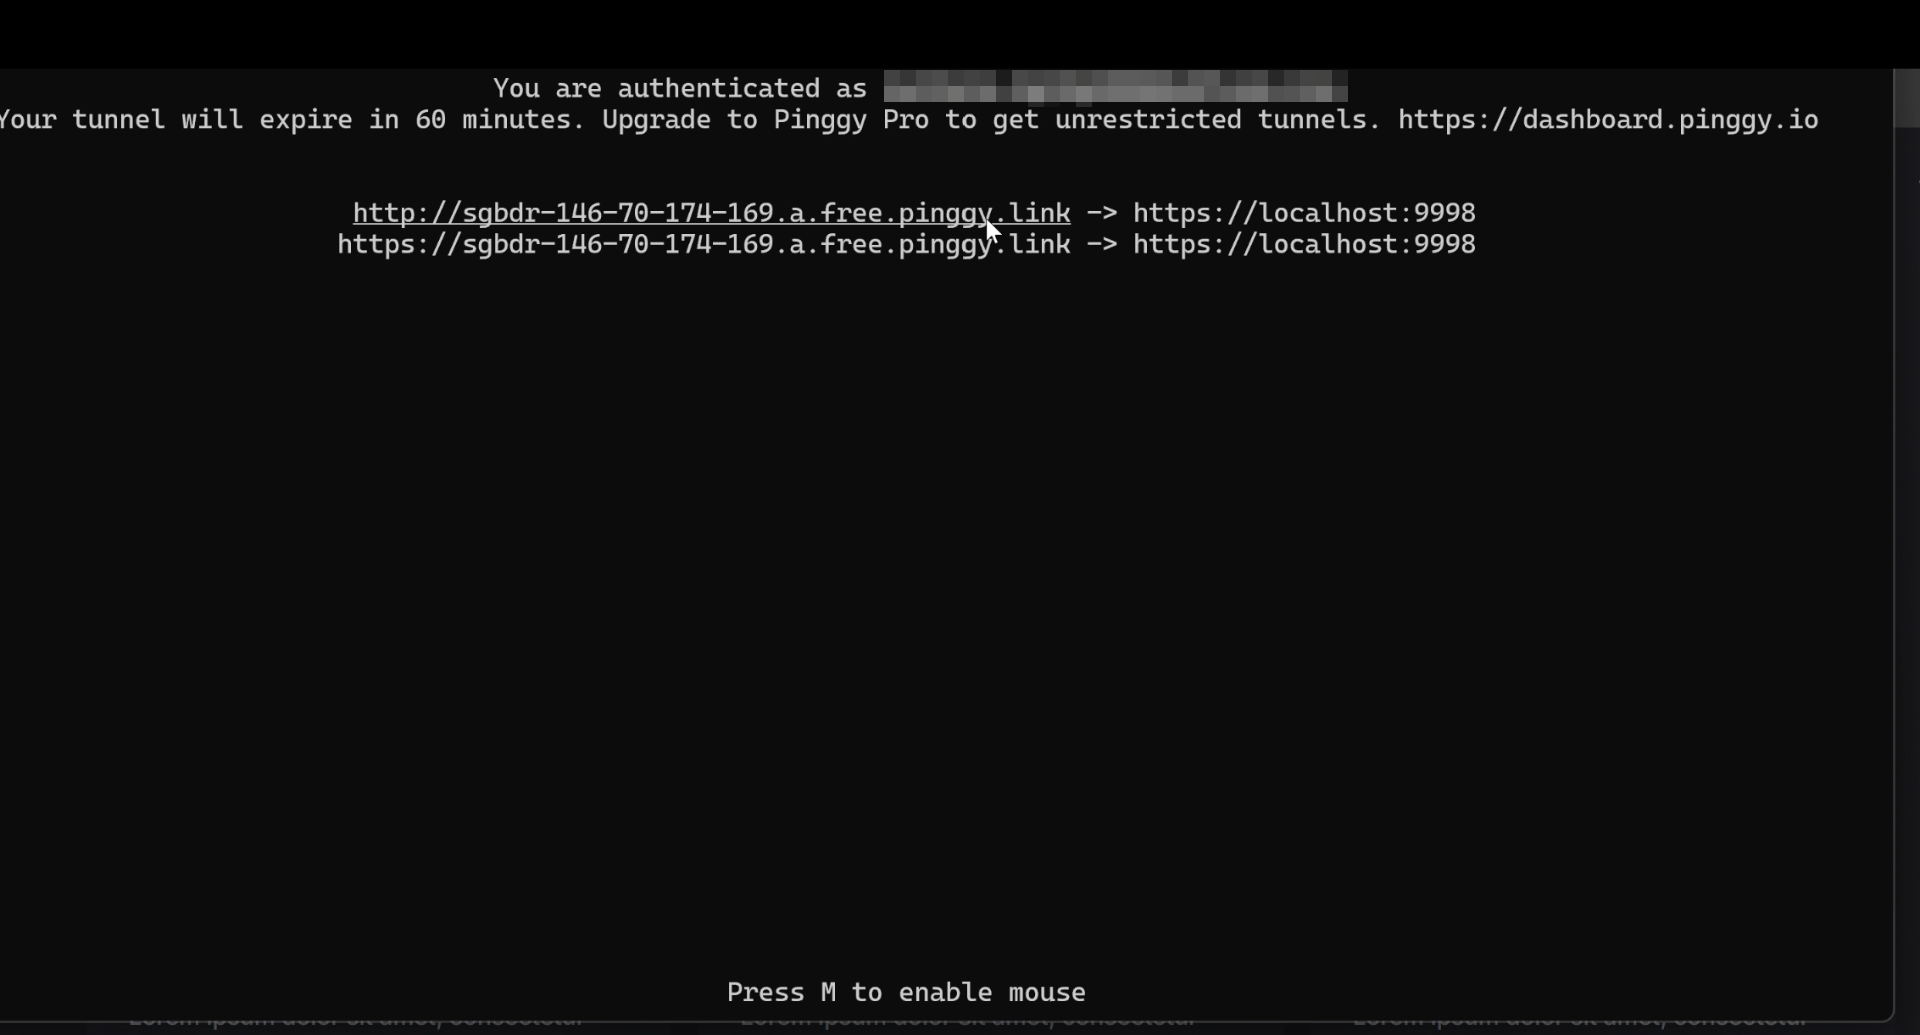
The Pinggy terminal will popup, and showing the links to where you site is being served on the internet.
That's it! You now have a custom website served to the web, directly from your computer.